DIY Steam Machine: Hardware
As I wrote in the original post “Waiting for the Steam Machine,” I hope until the last moment all speculation about the Steam Machine’s price will remain only speculation. However, market conditions, driven by AI-related memory shortages, led to the worst predictions: the Steam Machine was priced above $1000.
This left me no choice but to go with a custom PC build that lets me install 32GB DDR5 SODIMM RAM, a 4TB SSD, and the 2TB MicroSD card I already own. Fortunately, Valve welcomed this path. With the release of SteamOS, Valve updated its driver stack to support RDNA 4 GPUs. This changes the whole game for me. Instead of making the path to the DIY Steam Machine full of compromises and tricks, I have a very straightforward way to configure everything I need.
As I said, I already owned the following list of components I bought during December 2025-January 2026:
- Lexar 2TB Play Blue Micro SD Card for $186.95;
- Crucial 32GB DDR5 SO-DIMM RAM Kit CT2K16G56C46S5 (2x16GB) for $250.99;
- Team Group T-FORCE CARDEA A440 M.2 2280 4TB SSD for $335.99.
This component choice, originally intended for the Steam Machine, left me limited by the motherboard options I have. There were very few vendors making Mini-ITX motherboards with SODIMM support. Here is the list of options I have:
- ASROCK X600TM-ITX;
- Minisforum BD Series (BD775i SE/BD895i SE);
- ASUS Industrial Mini-ITX Line (Q870I-IM-A & H610I-EM-A).
The ASROCK motherboard was a very interesting option, but it was impossible to find, and it had one major flaw: it had no PCIe slot to connect a GPU. ASUS does not meet my requirements since I was willing to build my DIY Steam Machine around an AMD CPU. So, the last option is the BD Series from Minisforum.
There was no sense in buying the BD895i SE variant because the AMD Ryzen 9 8945HX CPU is too powerful to be used solely for gaming. Modern AAA games barely utilize 8 cores. This means that half of the 8945HX cores will sit idle even during the heaviest game sessions. So, for me, the choice was obvious: the Minisforum BD775i SE with soldered AMD Ryzen 7 7745HX is the best option. This CPU is an optimized version of the desktop AMD Ryzen 7 7700. It packs 8 Zen 4 cores, 16 threads, and a massive 32MB L3 cache. It has more than enough raw processing power to easily handle modern games at the standard 60Hz or 120Hz refresh rate caps of modern TVs.
With everything mentioned above, my list of the components to build a DIY Steam Machine transformed into the following range of items:
- Noctua NF-A12x25 G2 PWM chromax.Black for $34.95;
- Noctua NF-A12x25 G2 PWM Sx2-PP chromax.Black for $64.95;
- Piodata iXflash Q mini Micro SD Card Reader for $11.95;
- JoyReken USB Front Panel Adapter for $8.99;
- WAVLINK NVMe Heatsink with M.2 Thermal Pads for $2.39;
- MHQJRH M.2 2280 SSD heatsink for $6.99;
- CORSAIR SF1000 PSU for $169.99;
- PowerColor AMD Radeon RX 9070 XT Reaper for $598.49.
Initially, I had no plans to buy SF1000, aiming to get SF850 instead, but an Amazon Prime Day deal came up, and I couldn’t resist buying SF1000 for less than SF850. The PowerColor AMD Radeon RX 9070 XT Reaper I snagged at Micro Center during the sale before the 4th of July. It was initially priced at $629.99, but with the Micro Center credit card, which give 5% instant savings, it went down to $598.49 at checkout.
The last thing I need to put all parts together is the case. And this one I’m not willing to compromise. I want the smallest possible size that fits a full-size AMD Radeon RX 9070 TX GPU and offers the best aesthetics on the market. With all the mentioned requirements, I have only one option: FormD T1 with CNC-anodized mesh side panels. This one, with all necessary options, cost me a whopping $440, including shipping.
During the assembly process, everything fit together perfectly. The Corsair SF series was redesigned in 2024, and all PSUs in this lineup got new, shorter cables. This was a perfect length for the SFF case, so I don’t need to order custom cables to connect all components inside the T1 case.
Here is the final list of components and prices I paid for each item:
| Type | Name | Price |
|---|---|---|
| GPU | PowerColor Reaper AMD Radeon RX 9070 XT | 598.49 |
| Case | FormD T1 Customize | 245 |
| Case | FormD T1 Essential Packs | 45 |
| Case | FormD T1 PCIe 5.0 Riser Cable | 50 |
| Case | FormD T1 Vertical Stand | 50 |
| Case | Shipping | 50 |
| SSD | Team Group T-FORCE CARDEA A440 M.2 2280 4TB | 335.99 |
| RAM | Crucial 32GB DDR5 RAM Kit (2x16GB), 5600MHz, 262-Pin SODIMM, Black - CT2K16G56C46S5 | 217.8 |
| MicroSD Card | Lexar 2TB Play Blue Micro SD Card | 186.95 |
| Cooler | Noctua NF-A12x25 G2 PWM Sx2-PP chromax.Black | 64.95 |
| Cooler | Noctua NF-A12x25 G2 PWM chromax.Black | 34.95 |
| PSU | Corsair SF1000 | 169 |
| MB | MINISFORUM BD775i SE | 255 |
| MicroSD Card Reader | Piodata iXflash Q mini Micro SD Card Reader | 11.95 |
| SSD Heatsink | MHQJRH M.2 2280 SSD heatsink | 6.99 |
| SSD Thermal Pads | WAVLINK NVMe Heatsink with M.2 Thermal Pads | 2.39 |
| I/O | USB Front Panel Adapter, Vertical USB C Header Adapter, USB 3.1 Type-E Key-A to USB 3.0 | 8.99 |
| Wi-Fi/Bluetooth | Intel Dual Band Wireless AX200NGW WiFi 6 AX200 WiFi Adapter | 0 |
| Total | Total Amount Spend | 2322.07 |
After the build finished, I encountered an unexpected issue with the MicroSD card reader installation. Initially, I chose the PNY Performance Prime USB 3.2 Gen 1 microSD Flash Memory Card Reader, but it appears this device does not support 2TB MicroSD cards. So, I replaced it with the Piodata iXflash Q mini card reader. This was the only small device that supported 2TB microSD cards.
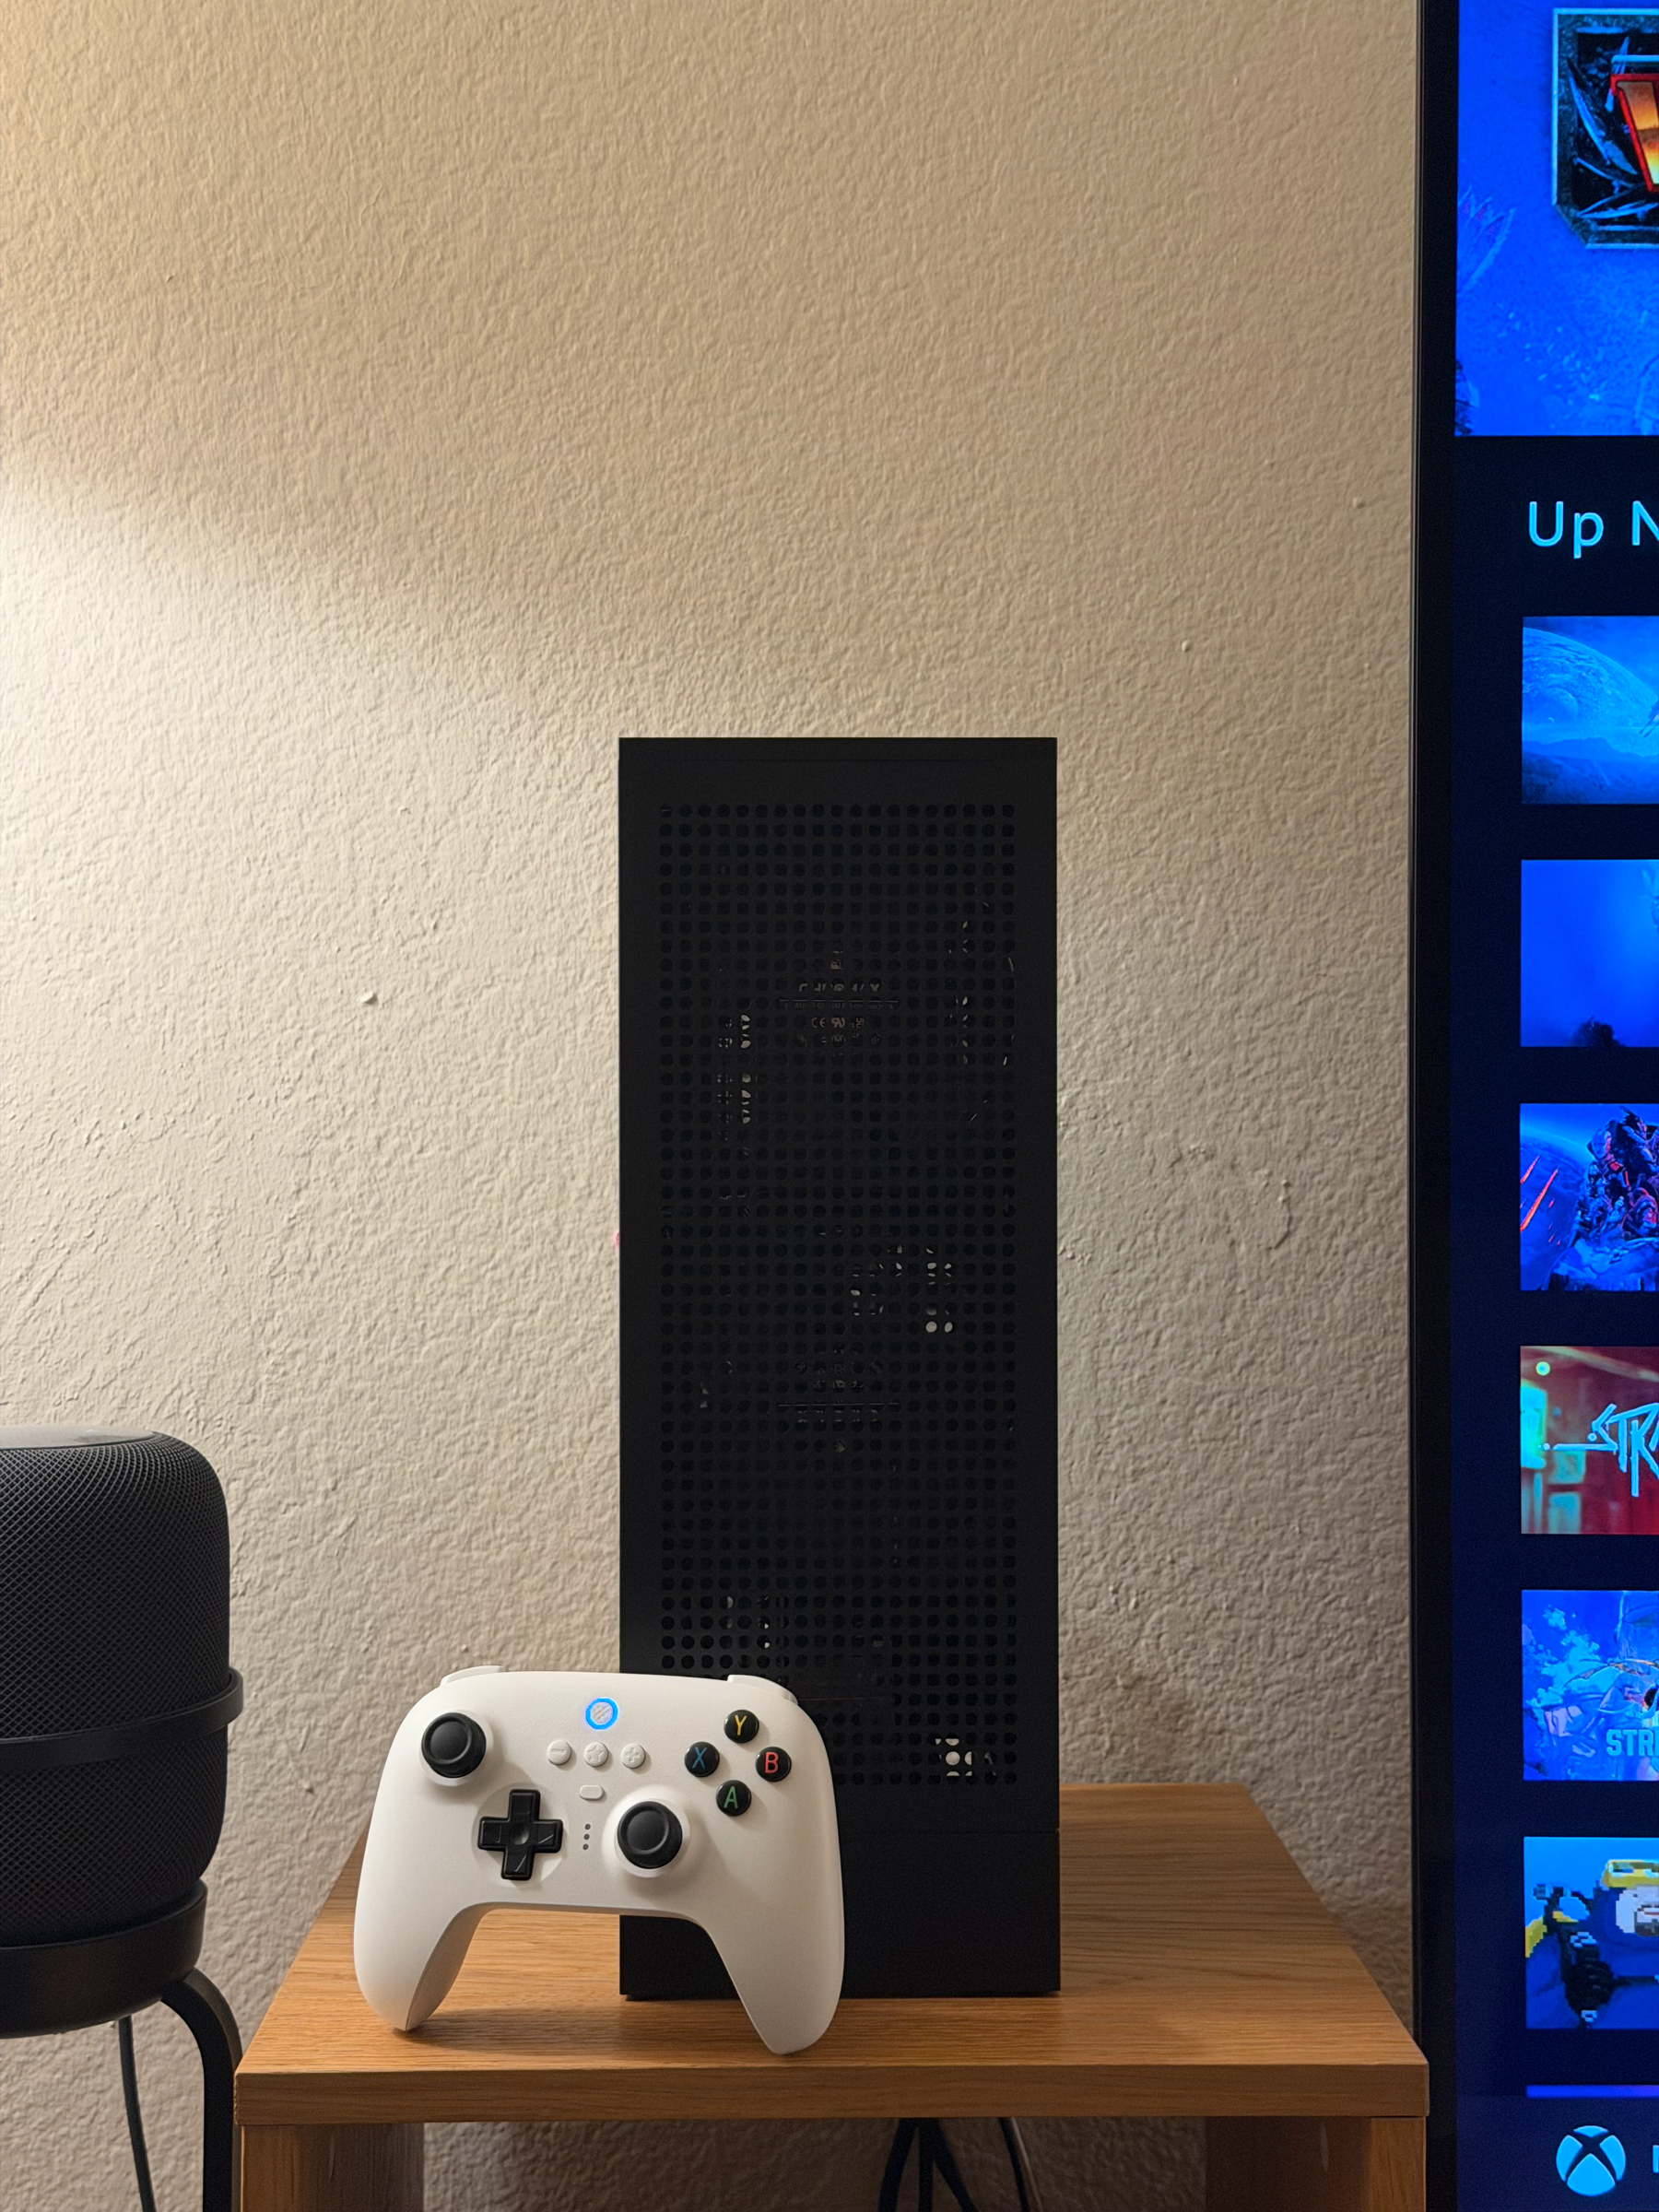
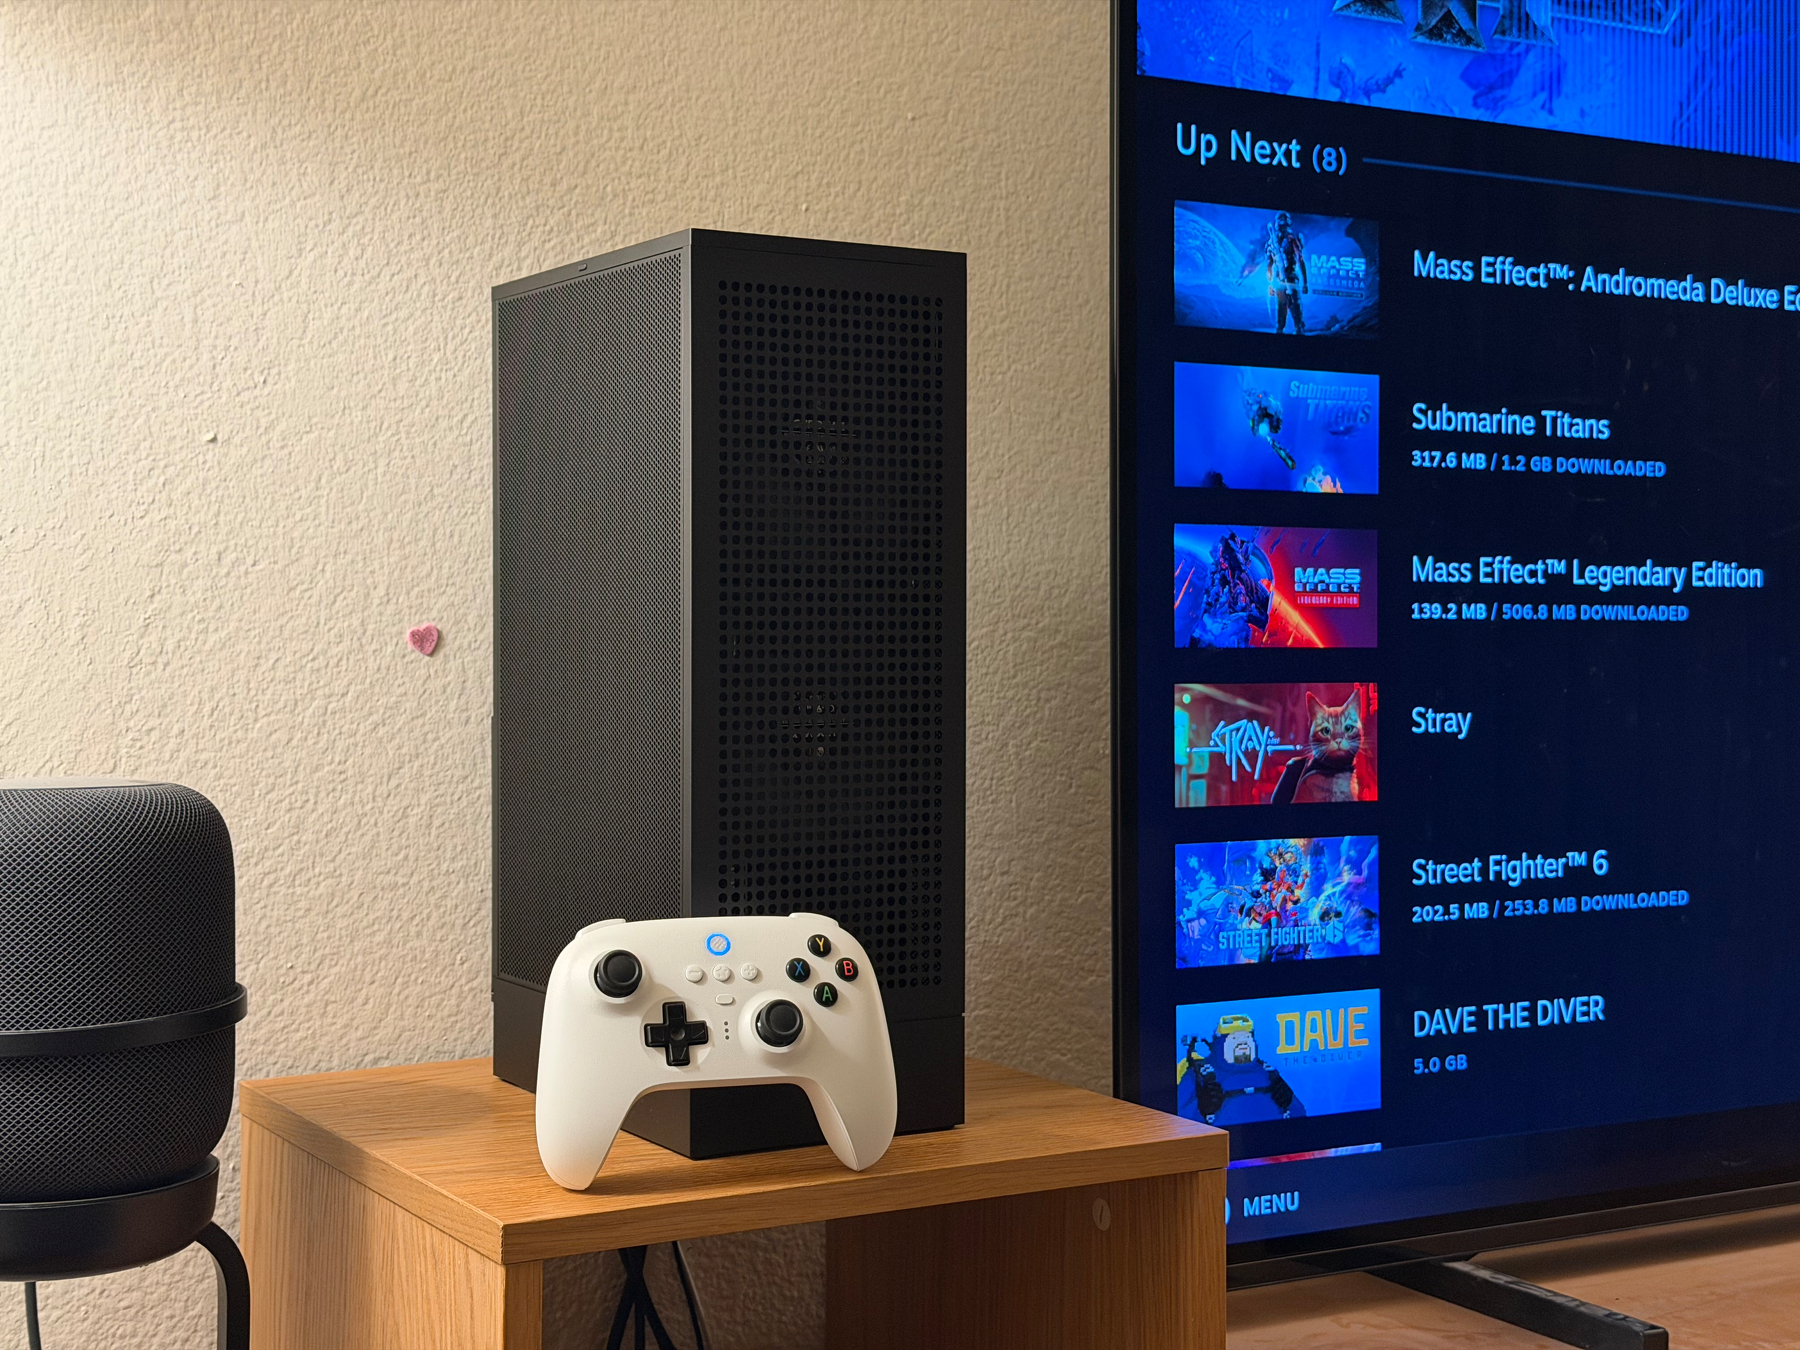
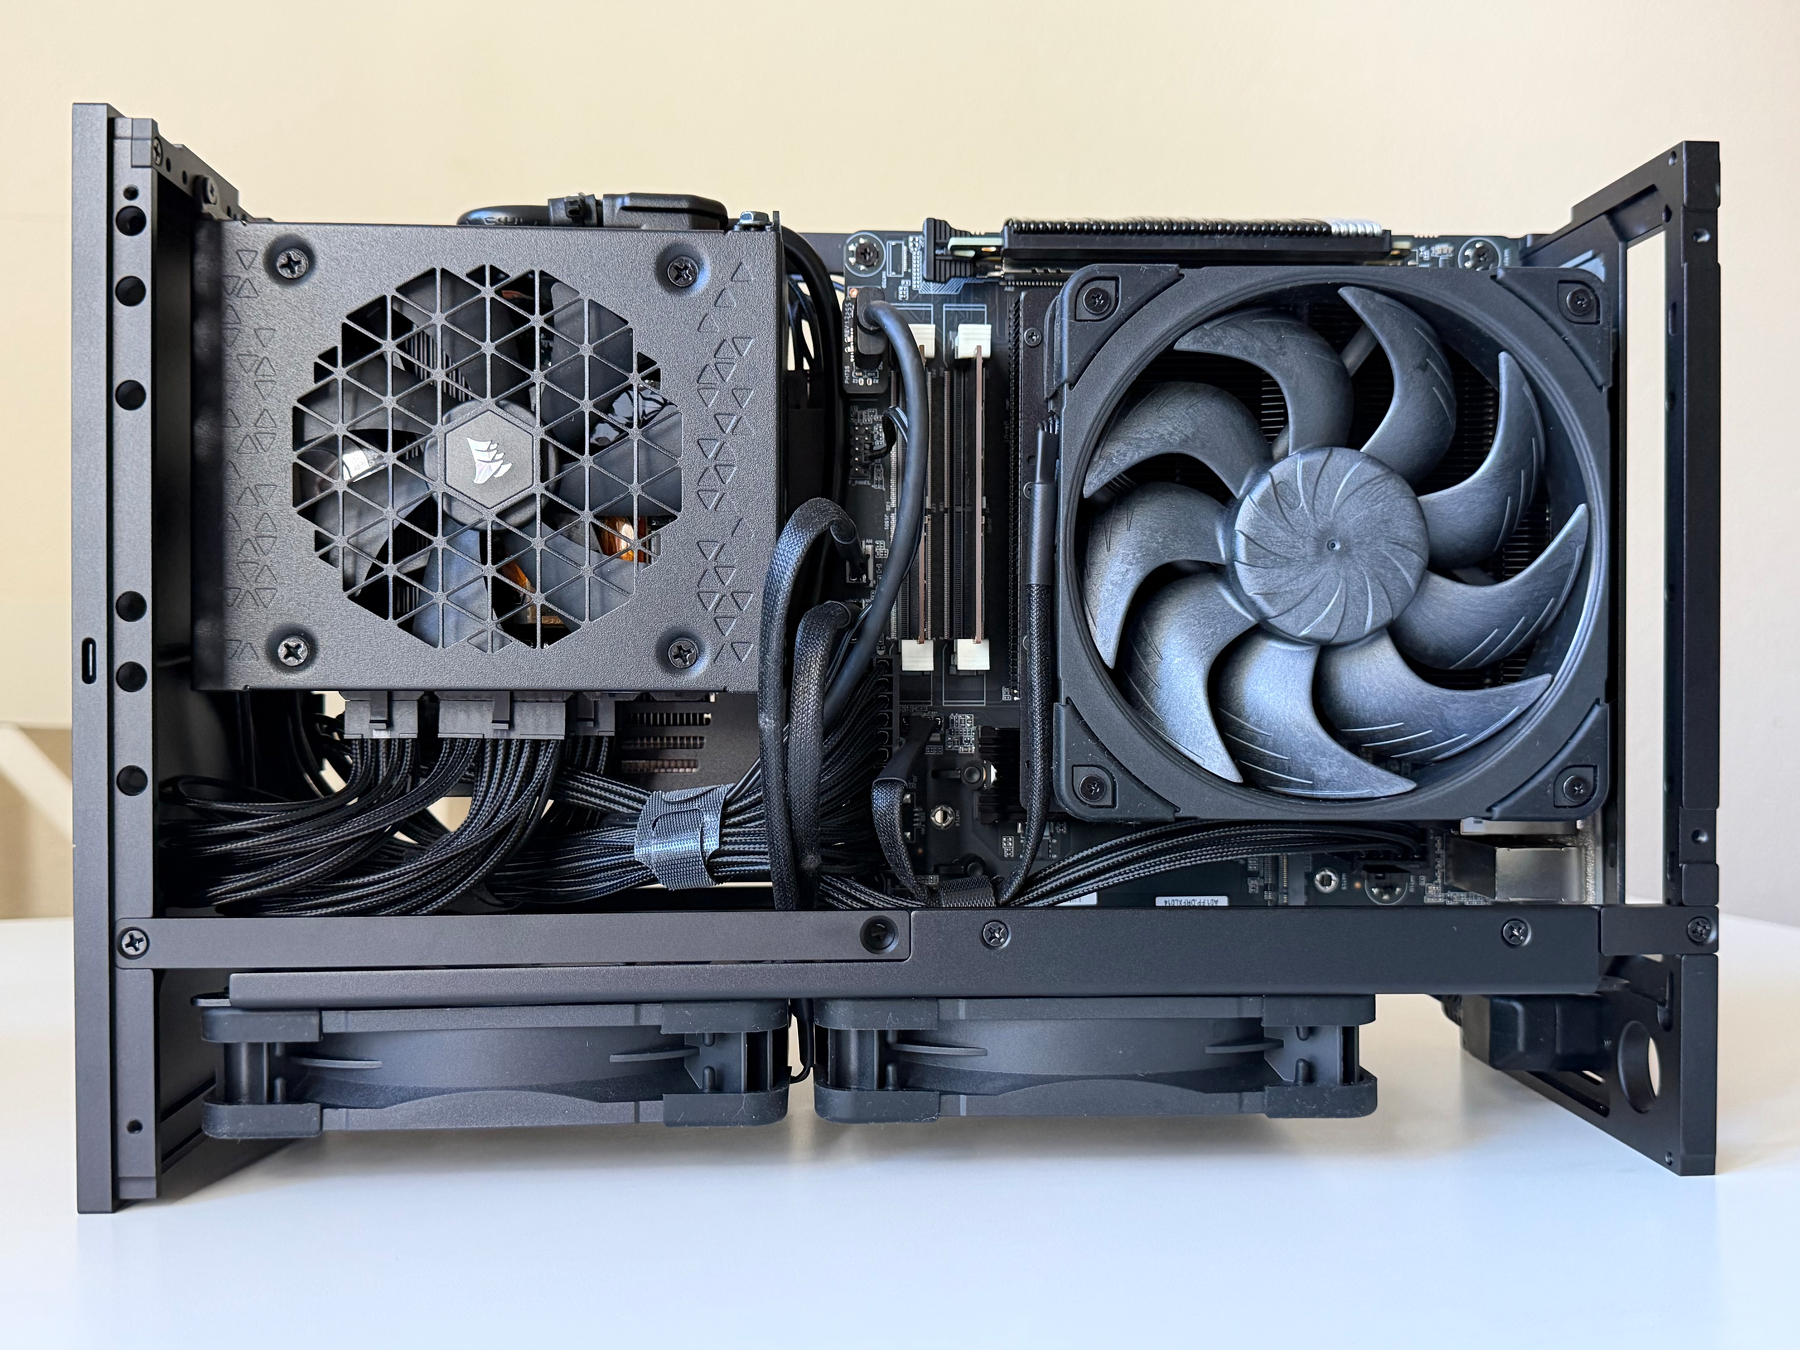
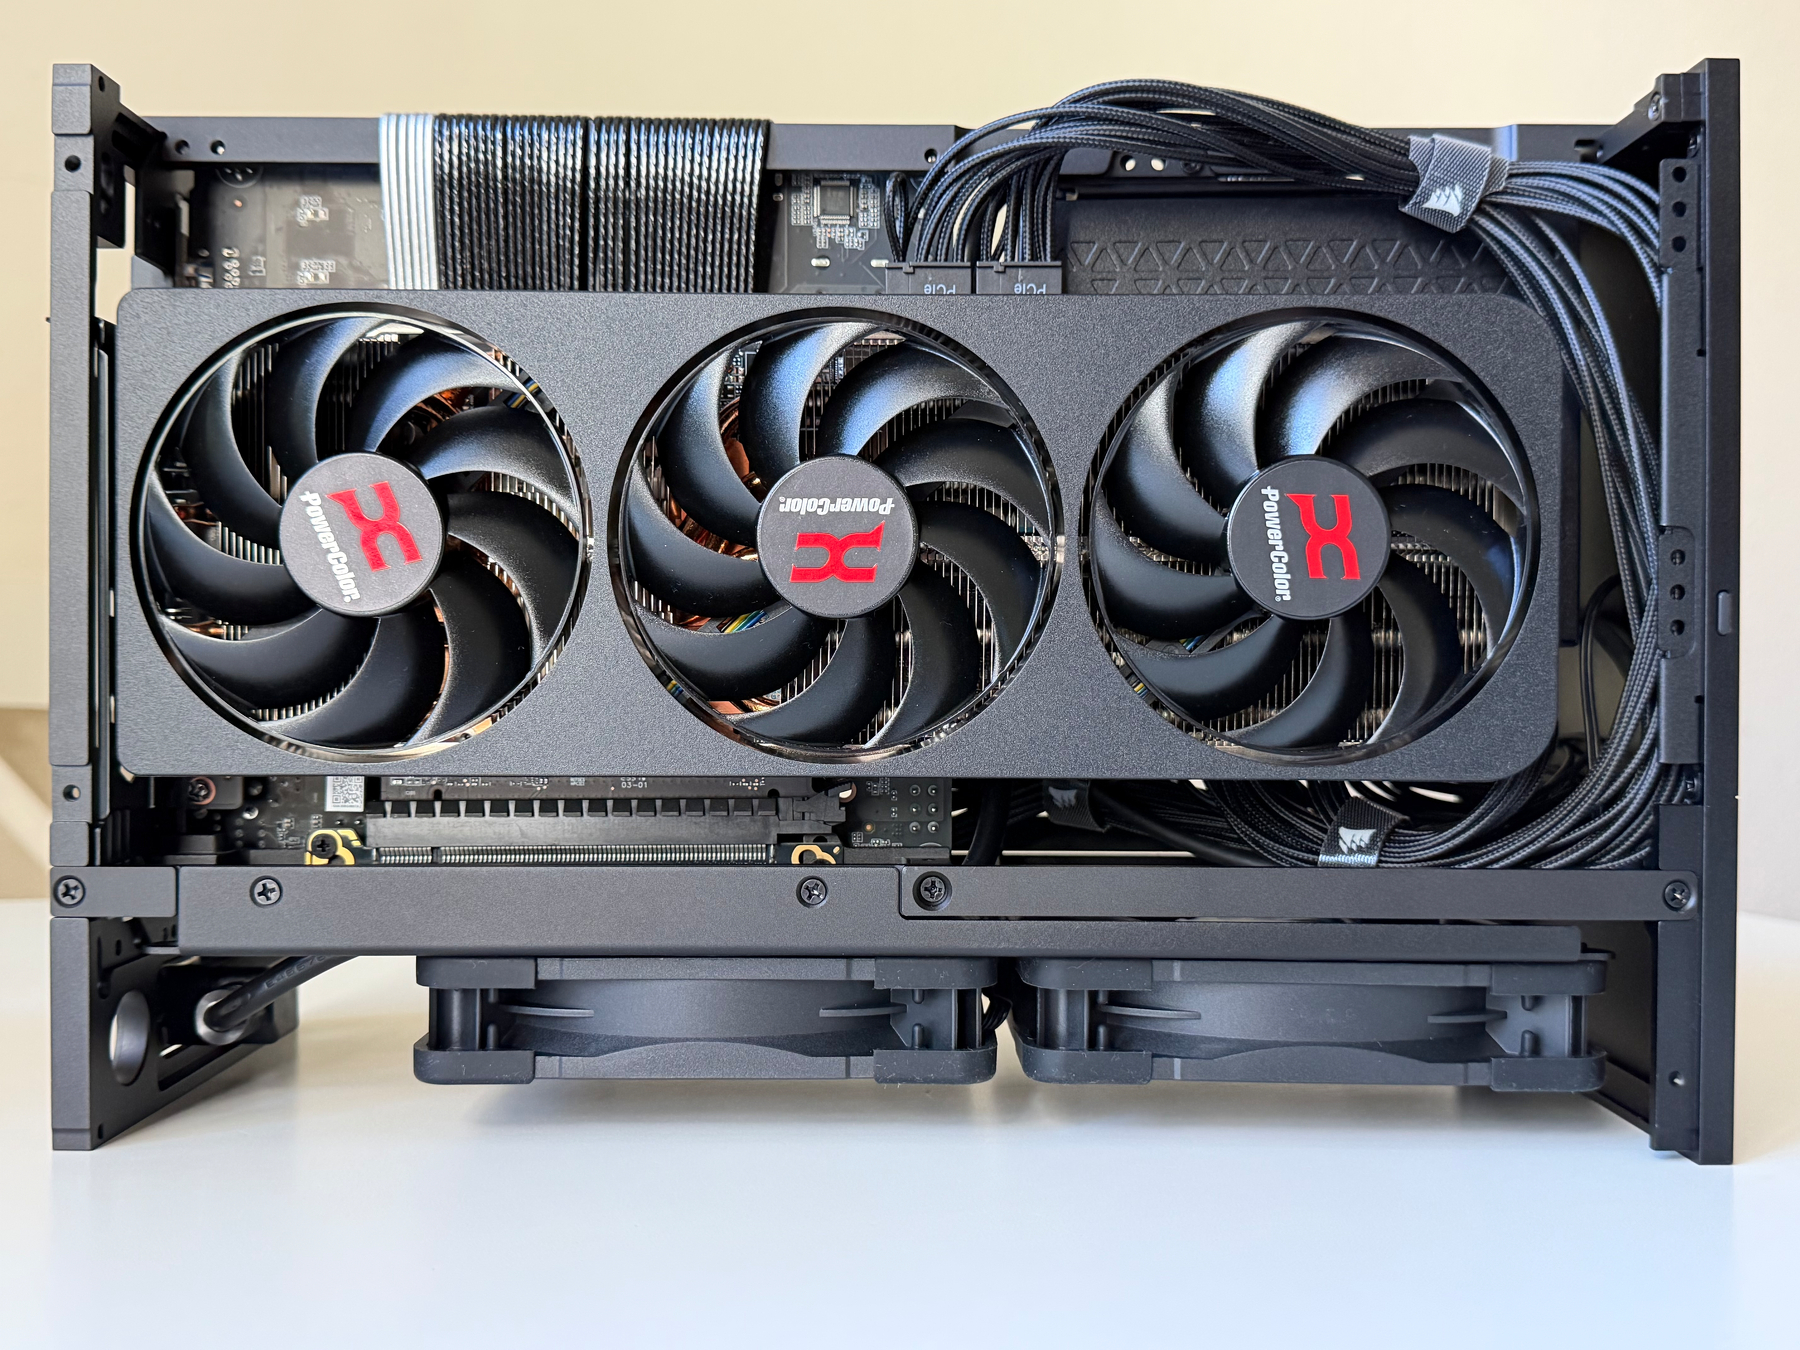
I’m very satisfied with the final result. My DIY Steam Machine looks awesome. Nice, clean look without anything that can reveal that it is a PC, not a console. The Noctua NF-A12x25 G2 PWM chromax.Black fans are doing a fantastic job cooling down the computer absolutely silently. The only components that can sometimes produce moderately loud noise are the GPU fans when I’m playing something demanding like Cyberpunk 2077.
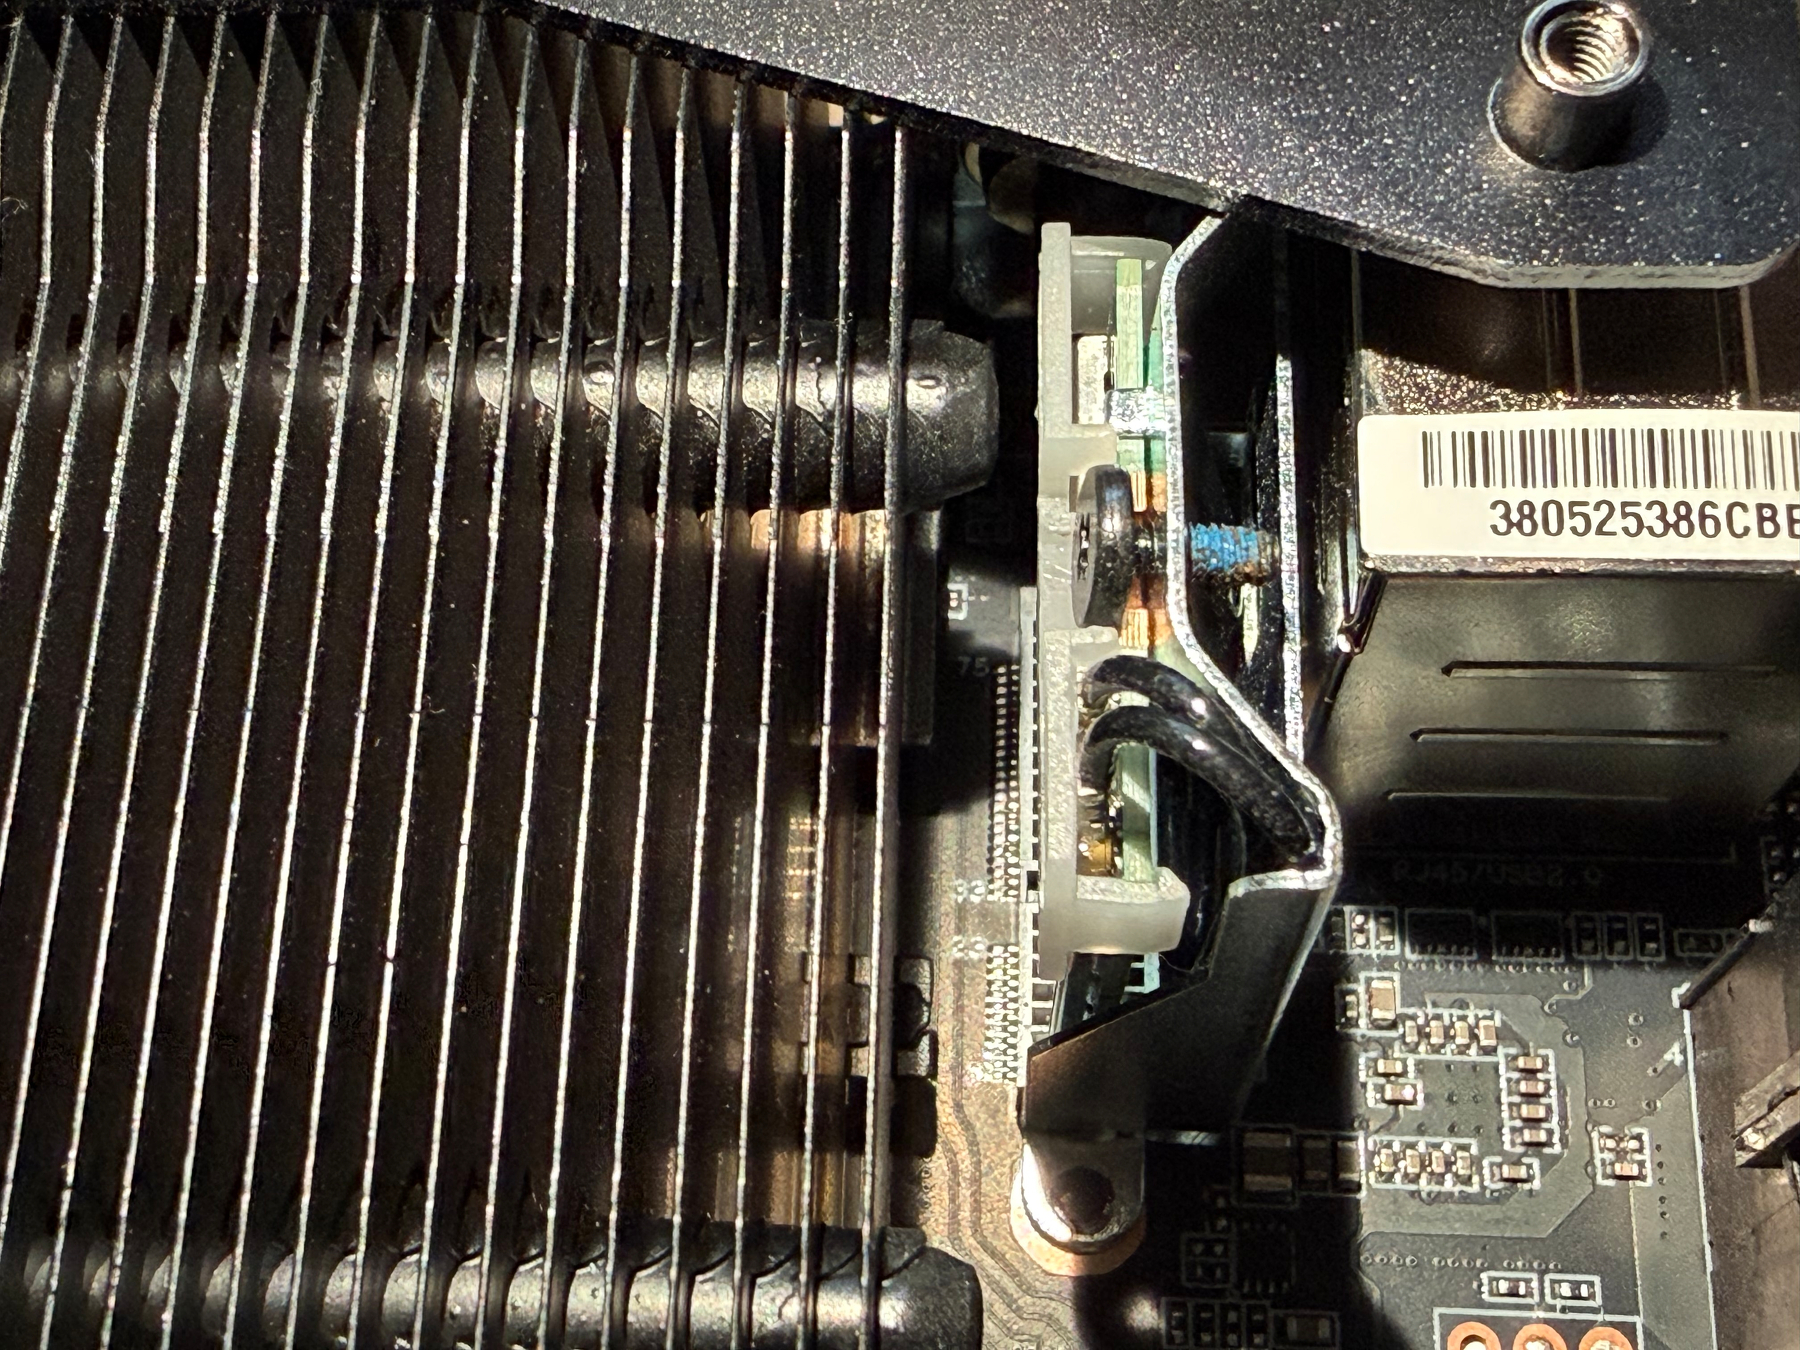
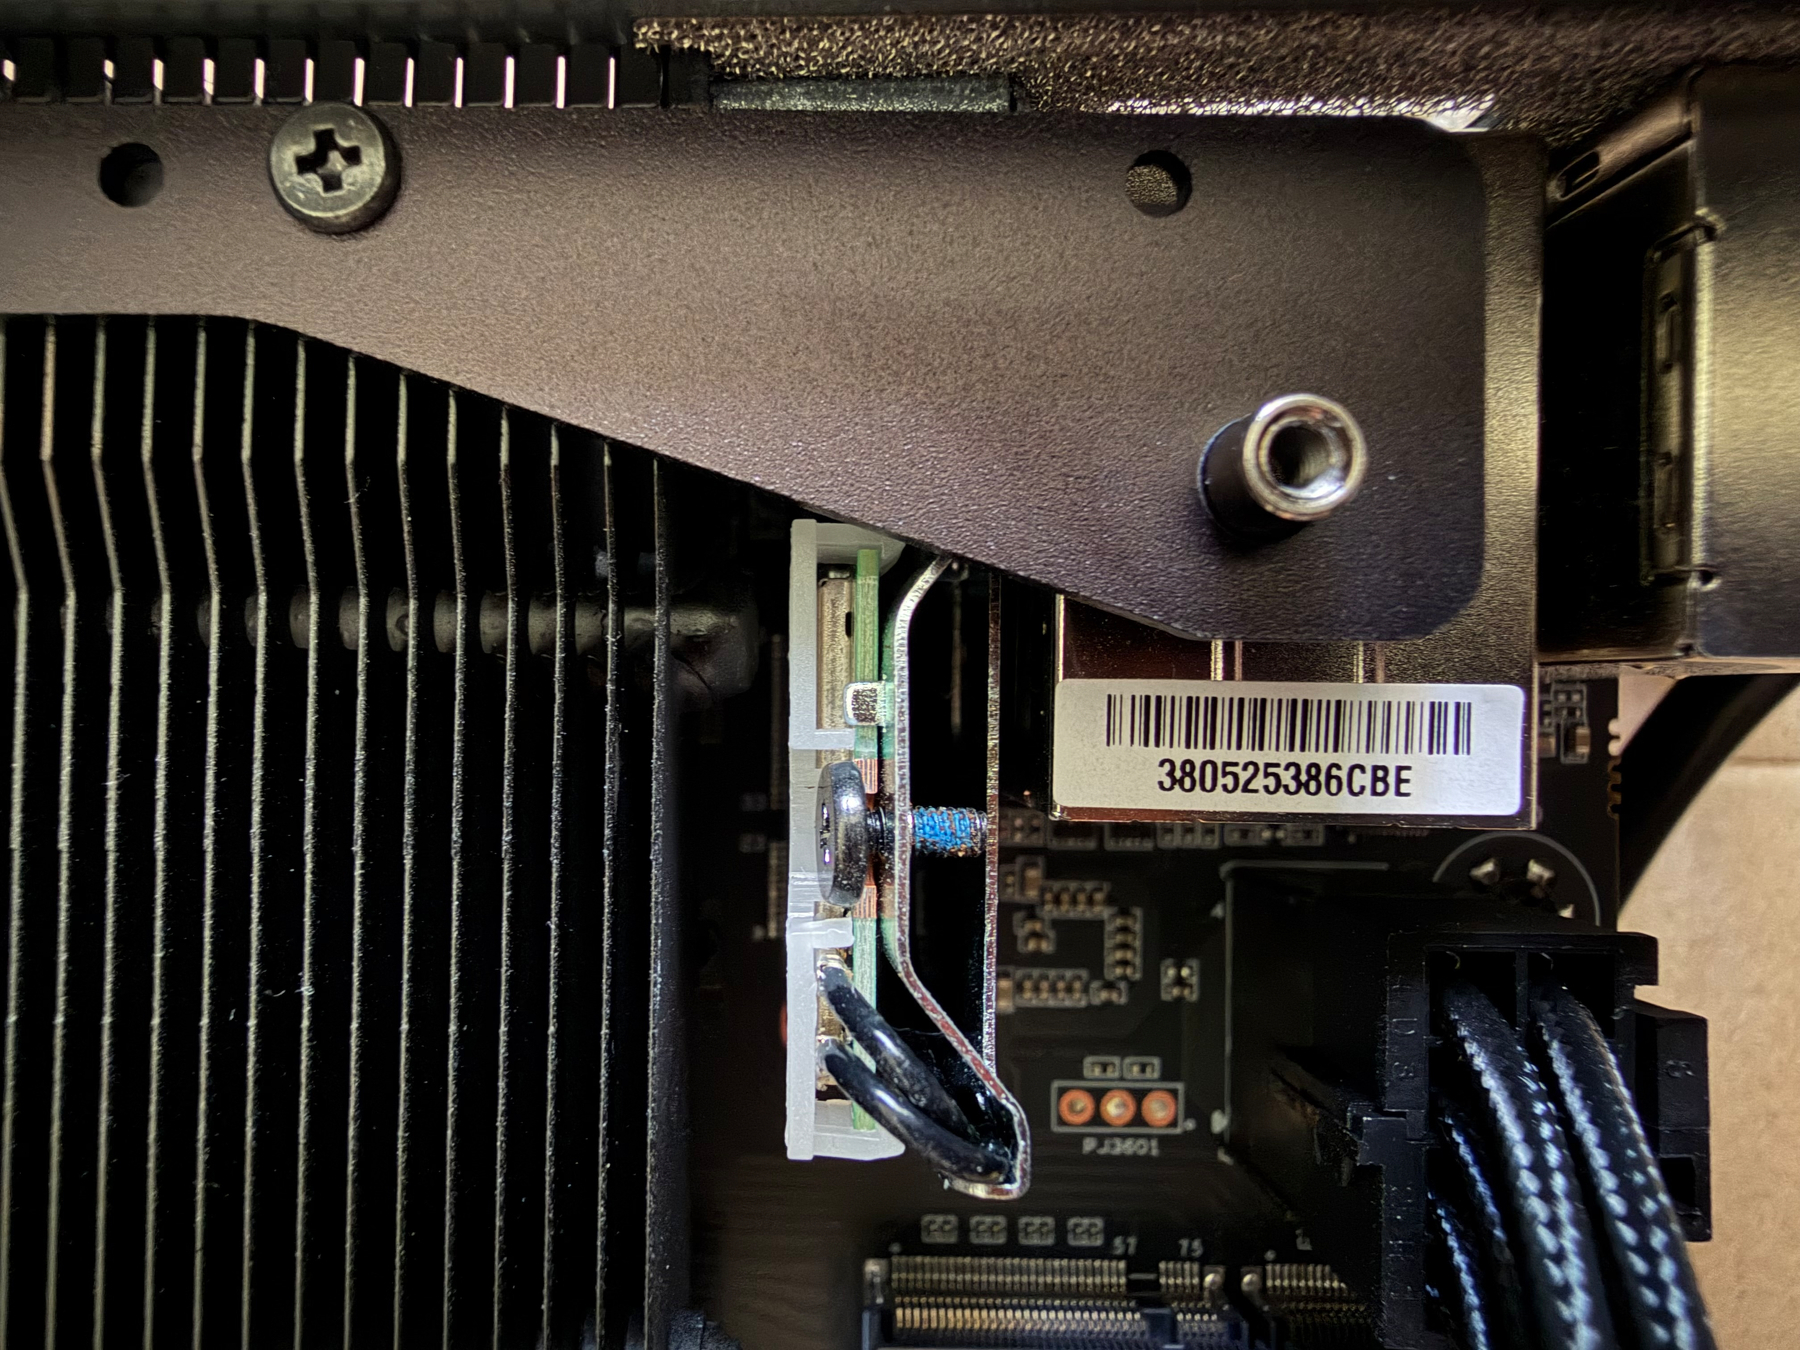
The most difficult part in the assembly process was assembling and installing the Intel Dual Band Wireless AX200NGW WiFi 6 AX200 WiFi Adapter. Minisforum’s documentation for the BD775i SE motherboard does not provide guidance on how to do this correctly, so this postwas really useful for understanding how to put all things together.
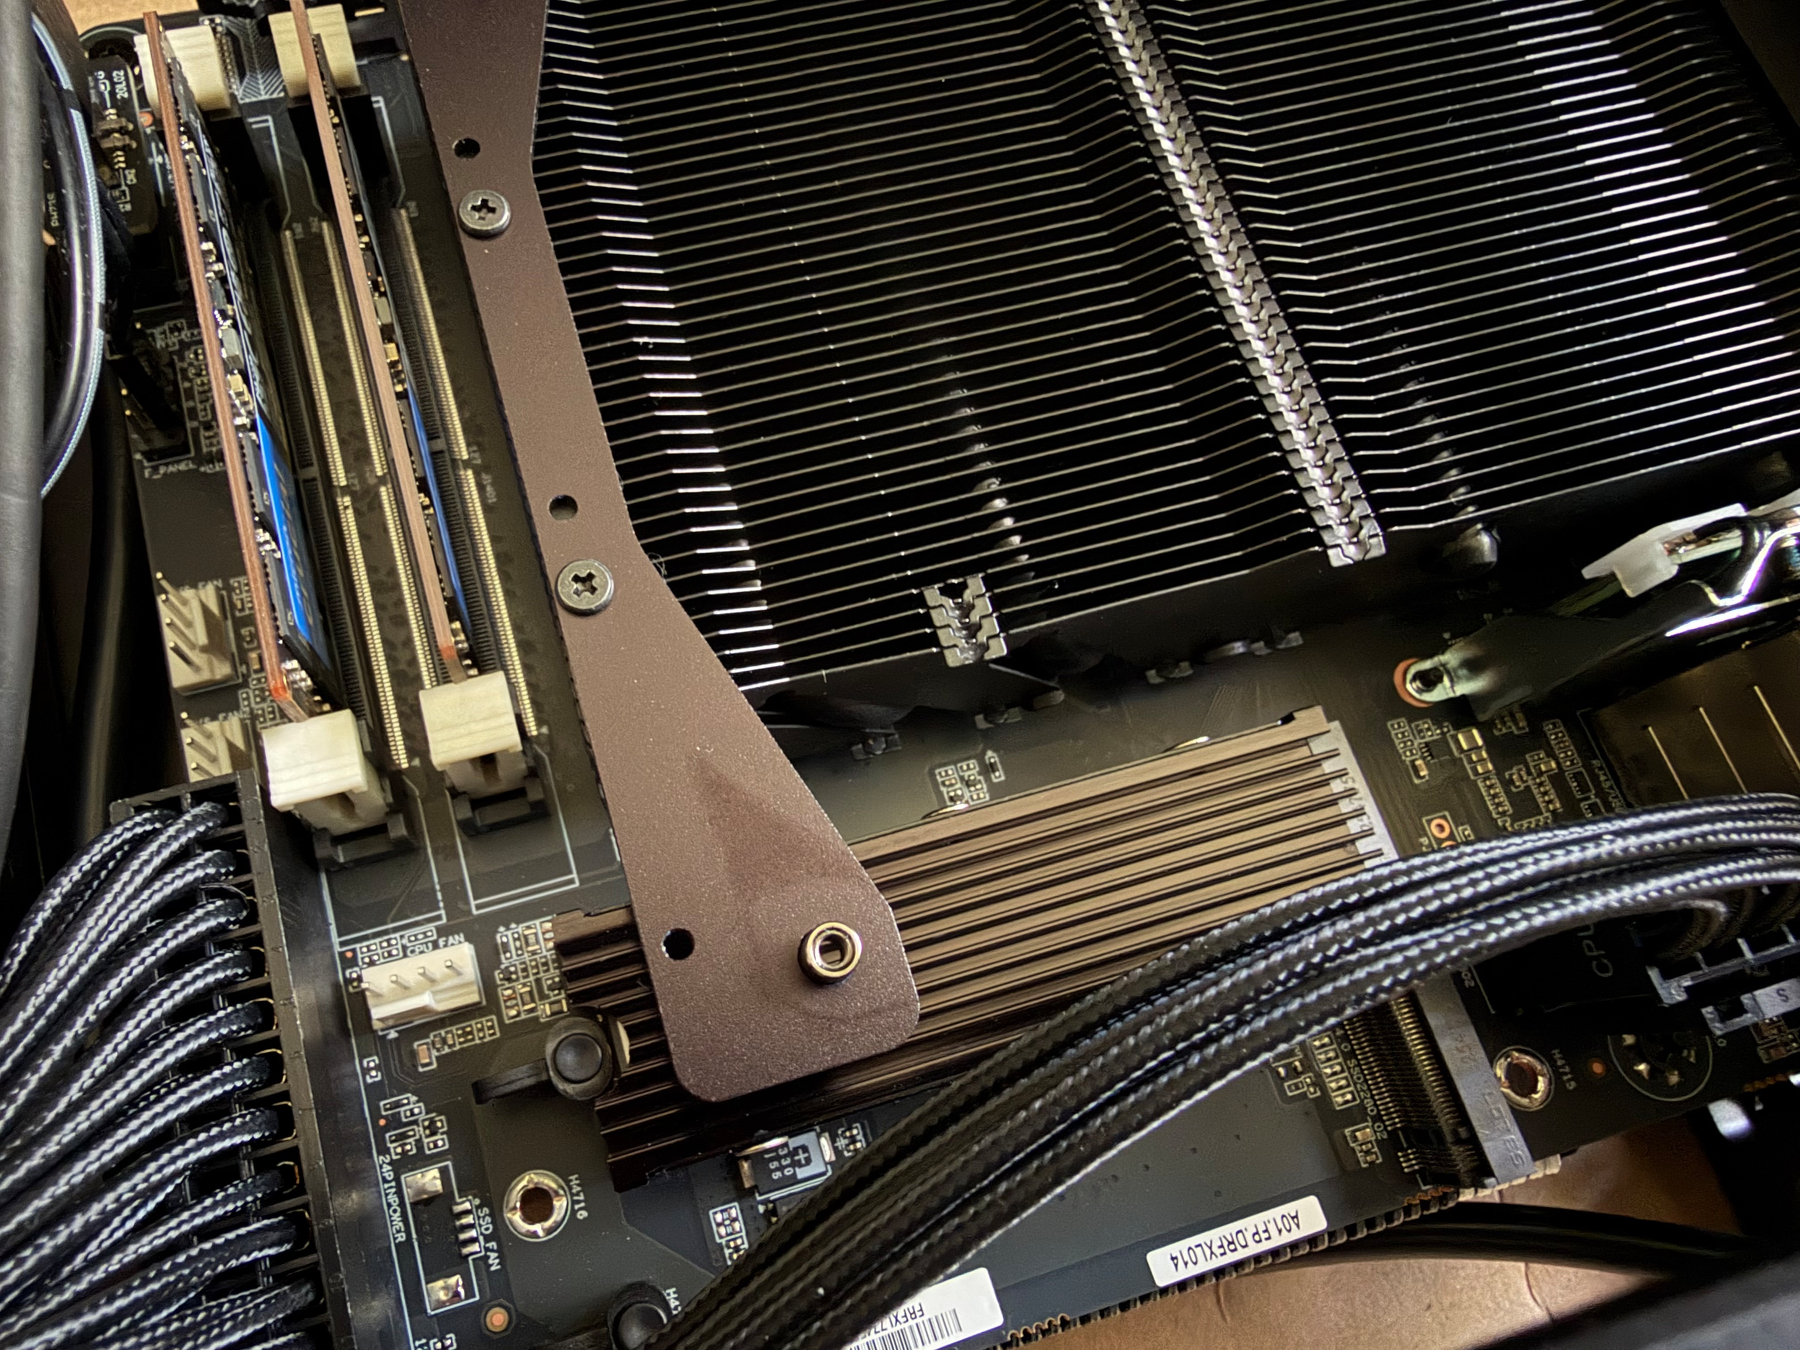
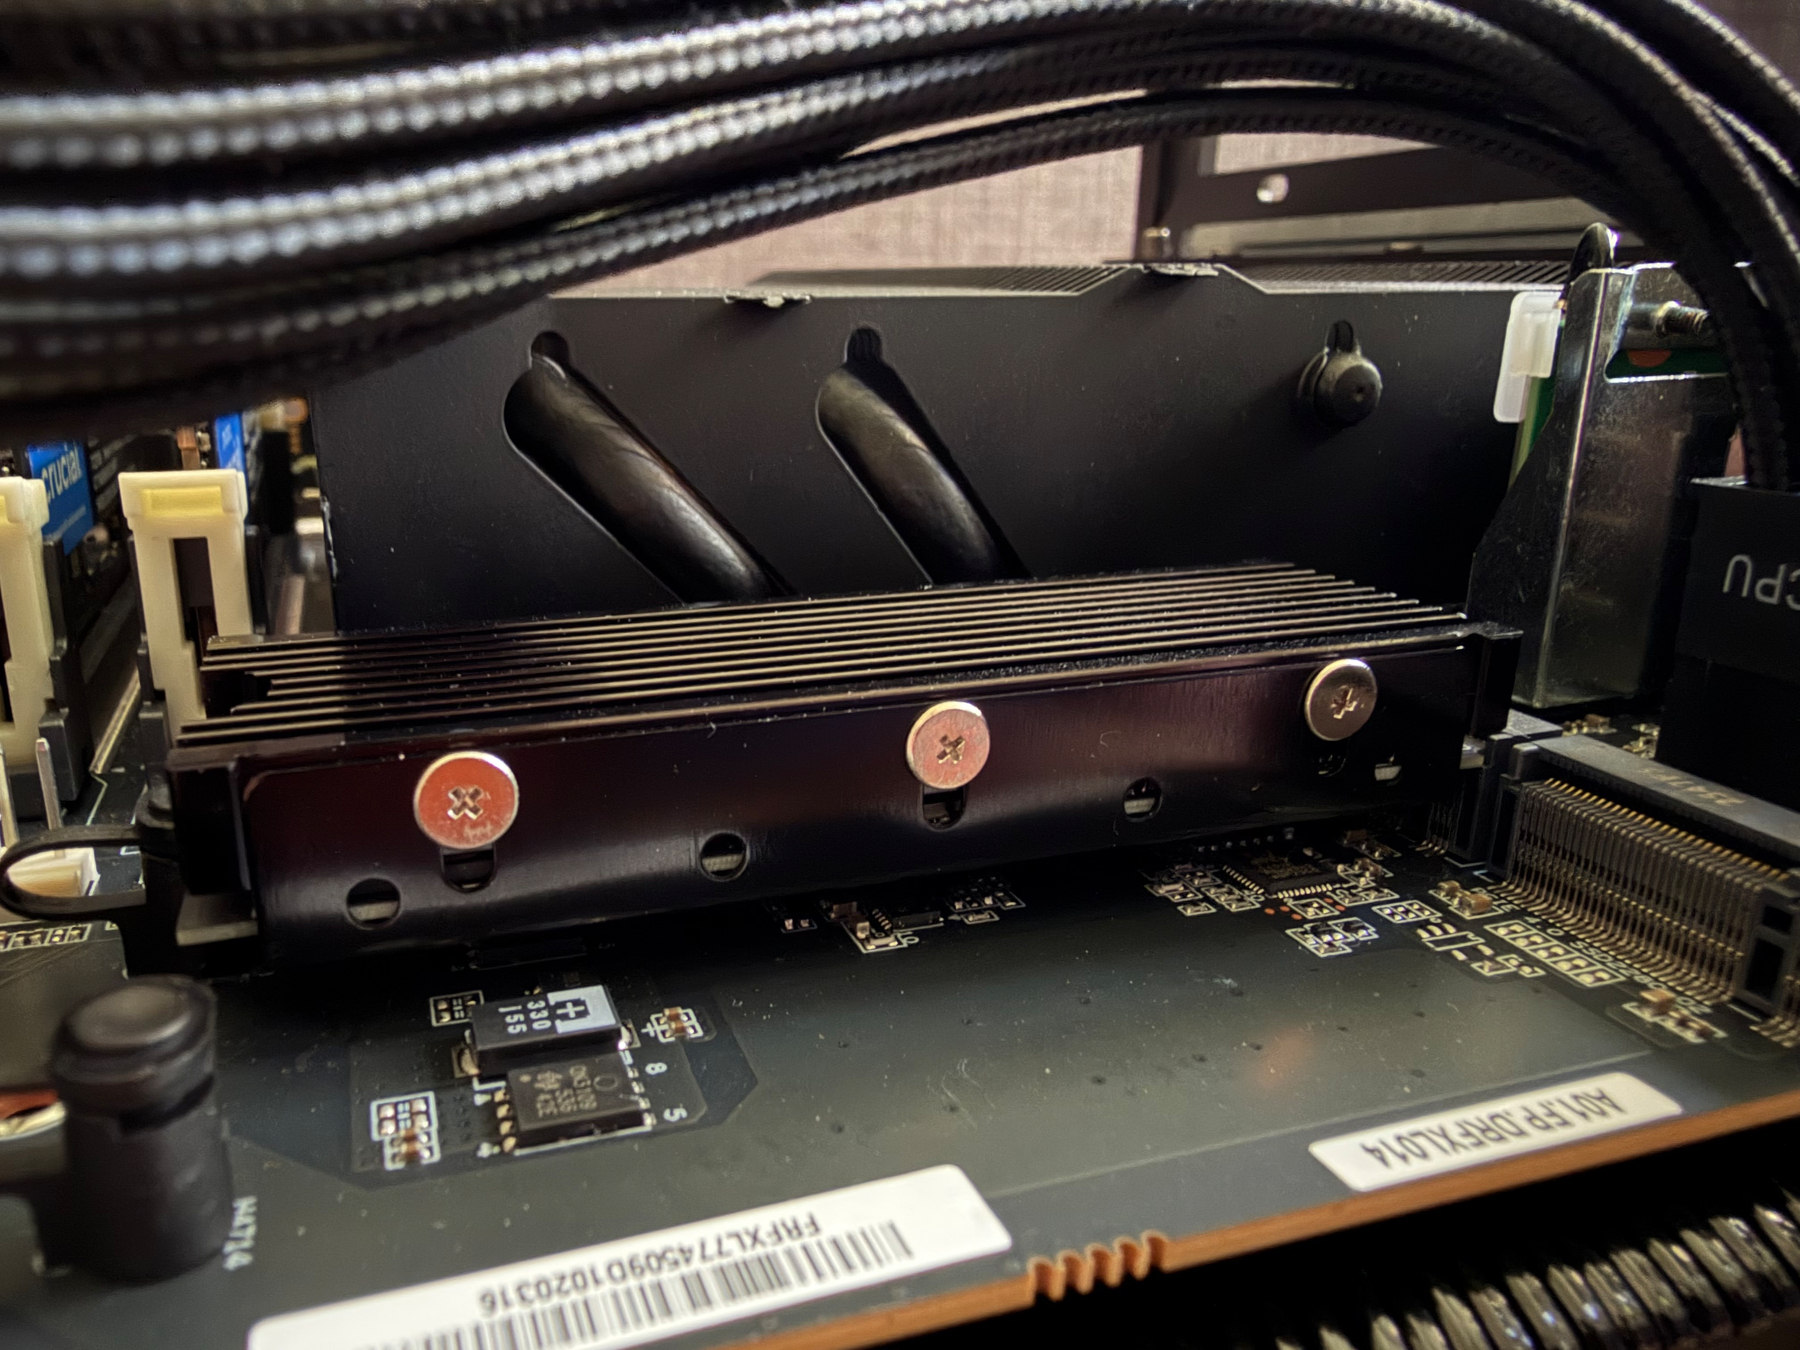
Probably worth mentioning that one part required some attention from my side. As I said, I have a 4TB Team Group T-FORCE CARDEA A440 SSD. This drive is equipped with a Phison E18 controller that can run very hot, especially during long gaming sessions. The heatsink included with the drive was not good enough in my opinion, so I replaced it with the MHQJRH SSD heatsink. The SSD is positioned directly under the Noctua fan on the motherboard, so in conjunction with that well-made heatsink, it stays cool and runs at around 47 degrees Celsius.
As you can see from the photos, I installed the DIY Steam Machine vertically, using the FormD T1 Vertical Stand. Despite the FormD recommendation to use T-shaped cables, I was able to use standard cables for HDMI, Ethernet, and USB connectivity, with one exception: the power cord. To power up the DIY Steam Machine, I’ve used a Unifi braided power cable from one of my USW Enterprise 24 PoE switches. Some time ago, I replaced them with a shorter version, so the original ones have been sitting on the shelf until today (surprisingly, I can’t find them on the Unifi store or anywhere else on the internet for sale).
While I’m enjoying playing games on my Sony XR65A80J TV, I’m thinking about upgrading sometime in late 2027 or early 2028 to install the successor to the AMD Radeon RX 9070 TX. Definitely, the BD775i SE motherboard with soldered AMD Ryzen 7 7745HX CPU will not be enough to survive the GPU upgrade, so I need to replace everything I have now: the RAM and the Minisforum BD775i SE.
In the current market conditions, having such a plan requires long-term planning, because the RAM in late 2027 or early 2028 will probably be the most expensive multi-hundred-dollar component. Having that in mind, I was lucky enough to snag CORSAIR Vengeance RGB DDR5 32GB (2 x 16GB) CL38-44-44-96 Kit for $314.99. Not the best memory, I know, but unfortunately, we are living in a time when we have no choice but to build the game rig from components we can get at a reasonable price, not from the ones we want. In the current market situation, this is a bargain. In addition to that memory, I’m planning to buy an AMD Ryzen 7 9800X3D CPU and Mini-ITX motherboard (I haven’t decided yet what exact model it will be).
That said, I’m happy with the current configuration and will hopefully enjoy evening sessions of playing games in 4K@120 FPS for the next two years, sitting in the chair in my living room.